In this article, i help you to learn how to use Fluent Validation in ASP.NET MVC 5 implementation. Fluent validation is one way to set up dedicated validator objects, that you would use when you want to separate validation logic from business logic. Fluent validation contains a small validation library for .NET that uses a Fluent interface and lambda expressions for building validation rules for our business objects.

So, let's start using Fluent Validation!
Step 1: Create a ASP.NET Application using MVC Template
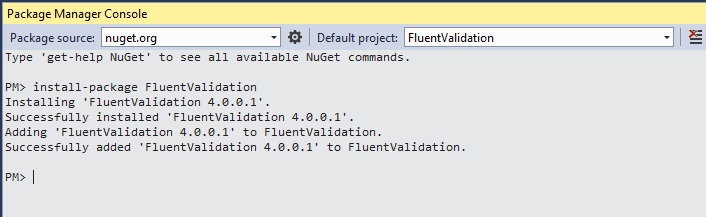
First, click on "Tools" , choose "Library Package Manager" then "Package Manager Console" and type this following command:
install-package FluentValidation
Step 2: Lets create a Model class with the properties
namespace samplefluentvalidation.Models
{
public class Products
{
public int ProductID { get; set; }
public string ProductName { get; set; }
public string ProductManufacturer { get; set; }
}
}
Step 3: Now lets Create a controller
using FluentValidation.Results;
using samplefluentvalidation.Models;
using samplefluentvalidation.Models.Validations;
using System.Web.Mvc;
namespace samplefluentvalidation.Controllers
{
public class ProductsController : Controller
{
//
// GET: /Products/
public ActionResult Index()
{
return View();
}
[AcceptVerbs(HttpVerbs.Post)]
public ActionResult Index(Products model)
{
ProductValidator validator = new ProductValidator();
ValidationResult result = validator.Validate(model);
if (result.IsValid)
{
ViewBag.ProductName = model.ProductName;
ViewBag.ProductManufacturer = model.ProductManufacturer;
}
else
{
foreach (ValidationFailure failer in result.Errors)
{
ModelState.AddModelError(failer.PropertyName, failer.ErrorMessage);
}
}
return View(model);
}
}
}
Step 4: Now create a folder named products in views
Add a view named Index and add the below lines:
@model samplefluentvalidation.Models.Products
@{
ViewBag.Title = "Index";
}
@if (ViewData.ModelState.IsValid)
{
<b>
Product Name : @ViewBag.ProductName<br />
Product Manufacturer : @ViewBag.ProductManufacturer
</b>
}
@using (Html.BeginForm())
{
<fieldset>
<legend>Products</legend>
<div class="editor-label">
@Html.LabelFor(model => model.ProductName)
</div>
<div class="editor-field">
@Html.EditorFor(model => model.ProductName)
@Html.ValidationMessageFor(model => model.ProductName)
</div>
<div class="editor-label">
@Html.LabelFor(model => model.ProductManufacturer)
</div>
<div class="editor-field">
@Html.EditorFor(model => model.ProductManufacturer)
@Html.ValidationMessageFor(model => model.ProductManufacturer)
</div>
<p>
<input type="submit" value="Create" />
</p>
</fieldset>
}
@section Scripts {
@Scripts.Render("~/bundles/jqueryval")
}
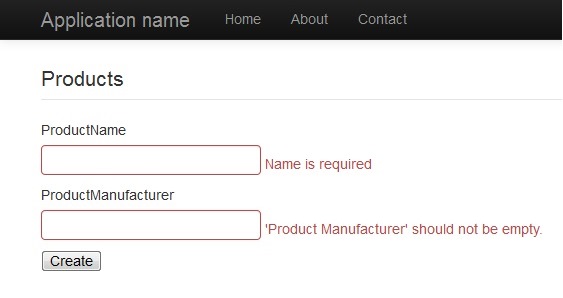
Now, we have created all the model controller. This view shows the index page and the validation check.
HostForLIFE.eu ASP.NET MVC 5.0 Hosting
HostForLIFE.eu is European Windows Hosting Provider which focuses on Windows Platform only. We deliver on-demand hosting solutions including Shared hosting, Reseller Hosting, Cloud Hosting, Dedicated Servers, and IT as a Service for companies of all sizes. We have customers from around the globe, spread across every continent. We serve the hosting needs of the business and professional, government and nonprofit, entertainment and personal use market segments.
