In this article I am using the ASP.NET SignalR library in the latest MVC 5 project template. Now, what is this real-time functionality? It is used to access the server code and push the content to the connected clients instantly instead of the server waiting for the client's request.
Prerequisites
Using Visual Studio 2013. There are some prerequisites to develop the application:
- Visual Studio 2010 SP1 or Visual Studio 2012.
- ASP.NET and Web Tools 2012.2
Let's create an application for SignalR development using the following sections:
- MVC 5 Application
- Code Execution

MVC 5 Application
Step 1: Open Visual Studio 2013 and create a New Project.
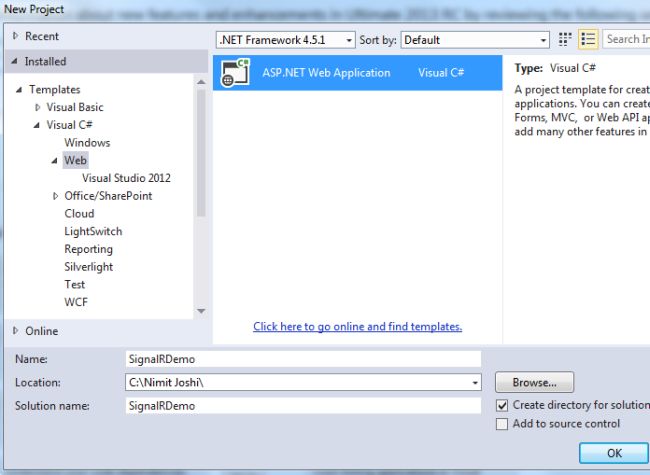
Step 2: Select MVC project template.

Step 3: Open the Package Manager Console.
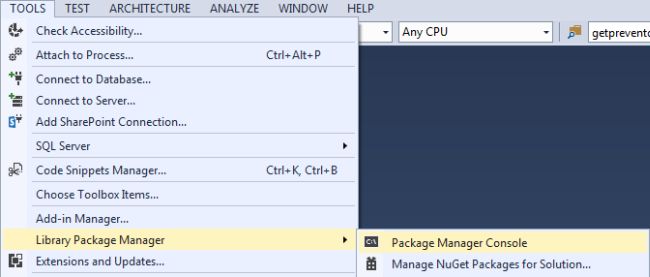
And write the following command:
install-package Microsoft.AspNet.SignalR
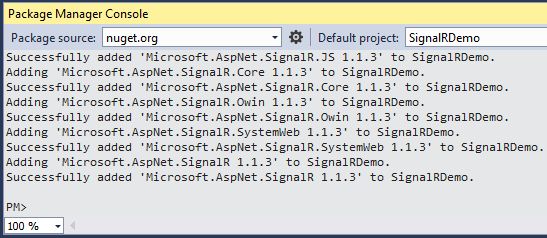
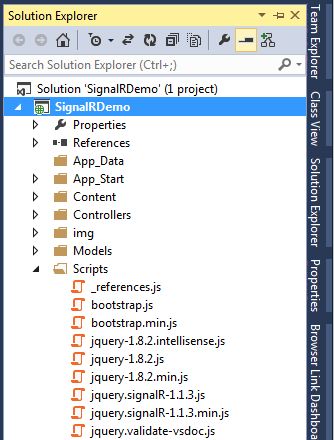
Step 4: You can see in your Solution Explorer that the SignalR was successfully added to your application.
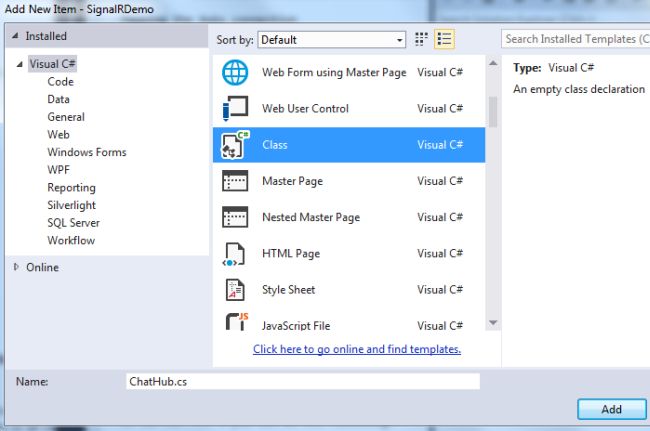
Step 5: Add a new folder named Hubs in your application and add a class in it.
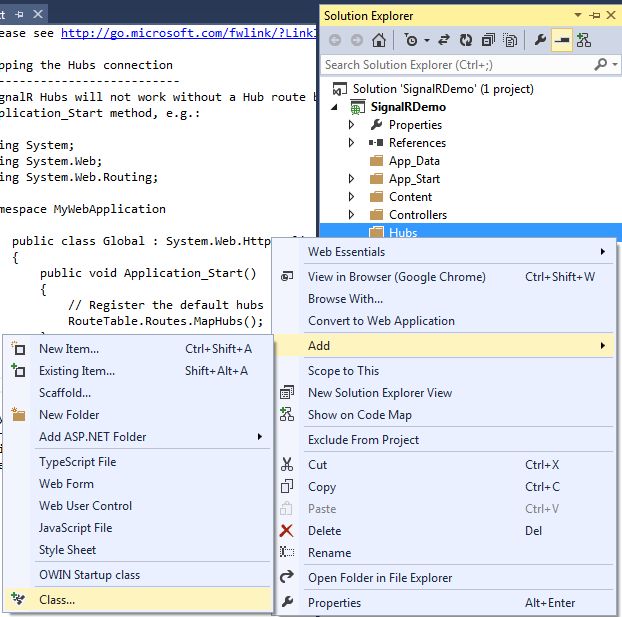
Give the name of your class ChatHub as shown below:
Step 6: Add the following code in the class:
using Microsoft.AspNet.SignalR;
namespace SignalRDemo.Hubs
{
public class ChatHub : Hub
{
public void LetsChat(string Cl_Name, string Cl_Message)
{
Clients.All.NewMessage(Cl_Name, Cl_Message);
}
}
}
Step 7: Open the Global.asax file and modify the Applicatio_Start() method as shown below:
public class MvcApplication : System.Web.HttpApplication
{
protected void Application_Start()
{
RouteTable.Routes.MapHubs();
AreaRegistration.RegisterAllAreas();
FilterConfig.RegisterGlobalFilters(GlobalFilters.Filters);
RouteConfig.RegisterRoutes(RouteTable.Routes);
BundleConfig.RegisterBundles(BundleTable.Bundles);
}
}
Step 8: Open your HomeController.cs file and modify it as shown below:
public ActionResult Contact()
{
ViewBag.Message = "Your contact page."
return View();
}
public ActionResult Chat()
{
ViewBag.Message = "Your chat page";
return View();
}
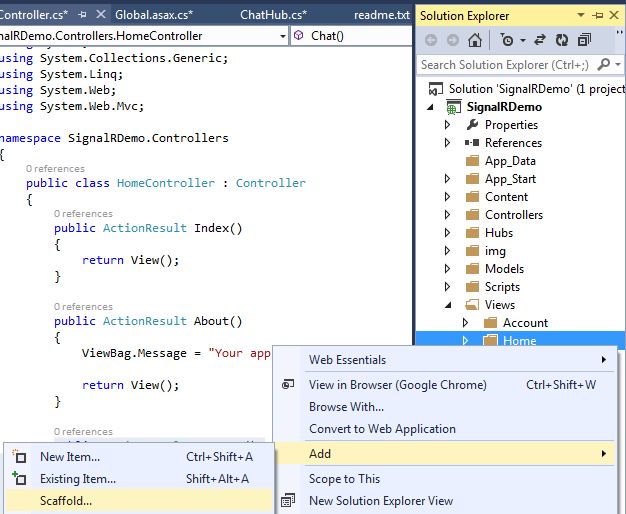
Step 9: Generate the view for the Chat method as shown in the following parts:
Select Home folder and right-click to add Scaffold
(m8)
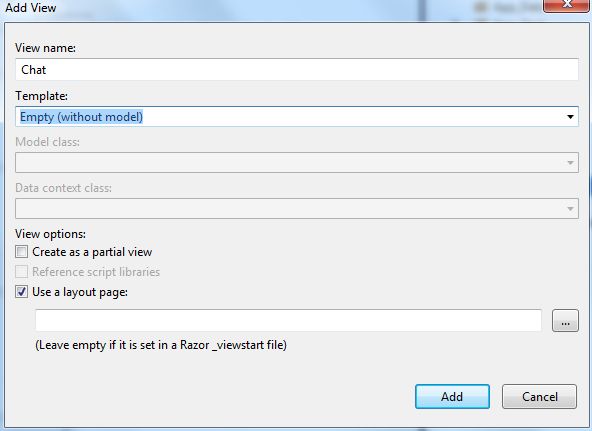
Select MVC 5 View in the Add Scaffold wizard
Do as directed in the following image:
Step 10: Add the following code in the Chat.cshtml file:
@{
ViewBag.Title = "Chat";
}
<hgroup>
<h2>@ViewBag.Title.</h2>
<h3>@ViewBag.Message</h3>
</hgroup>
<div class="container">
<input type="text" id="TxtMessage" />
<input type="button" id="BtnSend" value="Send" />
<input type="hidden" id="UserName" />
<ul id="Chats"></ul>
</div>
@section scripts {
<script src="~/Scripts/jquery.signalR-1.1.3.js"></script>
<script src="~/signalr/Hubs"></script>
<script
$(function () {
var chat = $.connection.chatHub;
chat.client.NewMessage=function(Cl_Name, Cl_Message) {
$('#Chats').append('<li><strong>' + htmlEncode(Cl_Name)
+ '</strong>: ' + htmlEncode(Cl_Message) + '</li>');
};
$('#UserName').val(prompt('Please Enter Your Name:', ''));
$('#TxtMessage').focus();
$.connection.hub.start().done(function () {
$('#BtnSend').click(function () {
chat.server.LetsChat($('#UserName').val(), $('#TxtMessage').val())
$('#TxtMessage').val('').focus()
});
});
});
function htmlEncode(value) {
var encodedValue = $('<div />').text(value).html();
return encodedValue;
}
</script>
}
Code Execution
Save all your application and debug the application. Use the following procedure.
Step 1: Debug your application. Open /Home/Chat in your browser like: http://localhost:12345/Home/Chat
Step 2: Enter your name in the prompt
Step 3: Enter message and send
Step 4: Copy the browser URL and open more browsers, paste the URL in the address bar and do the same thing as above.