Integrating security into your application is a crucial step. So that only authenticated users are permitted access to the application. ASP.NET Core Identity is a robust system that facilitates the authentication of users in ASP.NET Core applications. User registration, login, password administration, role-based authorization, and integration with external authentication providers are among its many features.

You will learn how to add identity service to your ASP.NET 6 MVC project in this article. Before beginning, let's examine the fundamentals.
What is ASP.NET MVC Core?
Microsoft ASP.NET Core MVC is a robust and adaptable web application development framework for the ASP.NET Core platform. The model, the view, and the controller are the three distinct application components that are separated by MVC. The model represents the data and business logic of the application. It contains the necessary data structures, logic, and algorithms for manipulating and processing the data. The view is accountable for displaying the user interface to the end user. The view receives data from the model and displays it in an approachable manner. The controller mediates between the model and view. The controller manages the application's flow by receiving and processing requests and returning the appropriate response.
What is the difference between authentication and authorization?
Authentication and authorization are essential application development components. Authentication is the process of confirming a user's identity, assuring that they are who they claim to be. Authorization, on the other hand, is the process of granting or denying access to specific resources or functionalities based on the permissions and roles of the authenticated user.
It is essential to employ a secure authentication and authorization mechanism in today's digital environment, where sensitive user data and confidential information are involved. It protects user accounts, restricts unauthorised access to sensitive data, and ensures that only authorised users are able to perform specific actions within the application. By effectively incorporating authentication and authorization, developers can increase the overall security and credibility of web applications.
What is ASP.NET Identity Core?
ASP.NET Core Identity is a membership system for ASP.NET Core applications that provides support for user authentication and authorization. It simplifies the management of user accounts, passwords, and roles, allowing developers to concentrate on the essential functionality of applications.
In other words, ASP.NET provides the necessary functionality for adding features such as registering, logging in, logging out, managing users, passwords, profiles, authorization, roles, claims, tokens, and email confirmation.
ASP.NET Core Identity provides a comprehensive set of features, including user registration, login, password management, role-based authorization, and integration with external authentication providers. It integrates seamlessly with ASP.NET Core MVC, making it simple to add authentication and authorization features to your web application.
Using ASP.NET Core Identity, developers can employ secure authentication mechanisms, such as cookies and JSON Web Tokens (JWT). In addition, it features a flexible and extensible architecture that permits customization and integration with existing user repositories and providers. Whether you are developing a small-scale application or a large enterprise-level system, ASP.NET Core Identity provides the tools and APIs required to implement secure and scalable authentication and authorization solutions.
How Do I Configure ASP.NET Core Identity In My Project?
To perform authentication using Identity, I will create a brand-new project. Let us now establish the project.
1. Establishing the undertaking
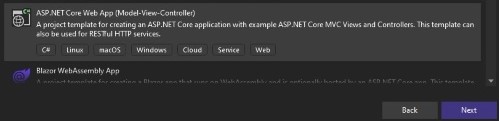
Open Visual Studio 2022. Select "Create a new project" and then select "Next". Click "Next" after selecting the "ASP.NET Core Web App (Model-View-Controller)" template.
Click "Next" after customising the project and solution names and selecting the location where you desire to save the project. The name of our initiative is CRMApp.
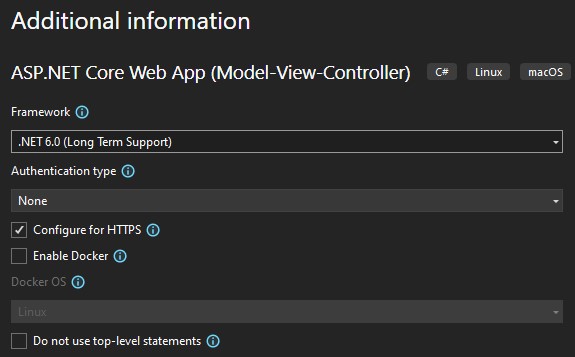
Click "Create" after selecting "NET 6" as the framework.
Now, the project has been effectively created.
Step 2: Configuring the database
Launch SSMS (SQL Server Management Server) and use it to create and manage databases.
create database SalesCRM;
use SalesCRM;
Step 3. Open appsetting.js and set the connection string.
"ConnectionStrings":
{
"SalesCRMcnn": "Server=***;Database=SalesCRM;User Id=**;Password=****;Connect Timeout=30;Encrypt=False;TrustServerCertificate=False;ApplicationIntent=ReadWrite;MultiSubnetFailover=False"
}
Step 4. Creating Models
Click on Models and add a new class named SalesleadEntity.cs. In this class, add the required properties for the model as shown below.
namespace CRMApp.Models
{
public class SalesLeadEntity
{
public int Id { get; set; }
public string? FirstName { get; set; }
public string? LastName { get; set; }
public string? Mobile { get; set; }
public string? Email { get; set; }
public string? Source { get; set; }
}
}
Step 5. Adding Required Packages
Now, Right click on the project and select "Manage NuGet Packages". In the browse section, search the following packages and install them.
Microsoft.EntityFrameworkCore
Microsoft.EntityFrameworkCore.SqlServer
Microsoft.EntityFrameworkCore.Tools
Microsoft.AspNetCore.Identity.EntityFrameworkCore
Now, Create a new folder named "Data" in the project and add a new class named "ApplicationDbContext.cs".
using CRMApp.Models;
using Microsoft.EntityFrameworkCore;
namespace CRMApp.Data
{
public class ApplicationDbContext : DbContext
{
public ApplicationDbContext(DbContextOptions options) : base(options)
{
}
public DbSet<SalesLeadEntity> SalesLead { get; set; }
}
}
Now, open program.cs, and add the following service in the file.
builder.Services.AddDbContext<ApplicationDbContext>(options =>
options.UseSqlServer(builder.Configuration.GetConnectionString("SalesCRMcnn")));
Step 6. Adding the migration to the database
To add migration to the database, Go to "Tools" -> "NuGet Package Manager" -> "Package Manager Console", and the package manager console will open.
In the console, run the following commands.
add-migration "Initial migration"
Update-database
After running the above commands, a migration file will be added to your project, having folder name Migrations, and the database will be updated.
Step 7. Adding Controller
Click on Controller and add a new Scaffolded Item and select "MVC Controller with views, using Entity Framework," and click on "Add". A popup will open like this.
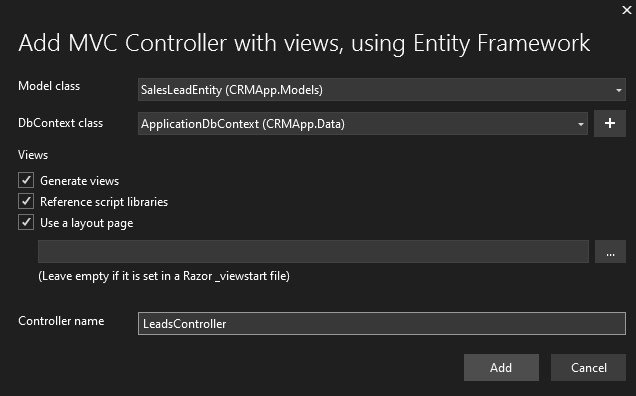
Choose "SalesLeadEntity" as the model class and "ApplicationDbContext" as DbContext class. Also, name the controller "LeadsController". Click on "Add", and a new controller will get created with action methods in it.
Now, go to "_Layout.cshtml" and add the following lines to make a new menu for the Sales Lead.
<li class="nav-item">
<a class="nav-link text-dark" asp-area="" asp-controller="Leads" asp-action="Index">Sales Lead</a>
</li>
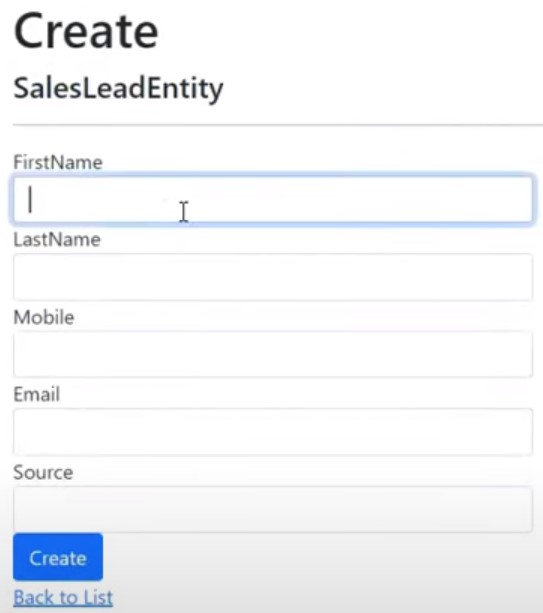
Now, if you will run the project and open the index page, you will have an empty page like this.

Here, click "Create New" to create a new record.
Once you add the records on the index page, you will have that records.
Step 8. Securing the project using Identity
Before adding Identity to the project, update the "ApplicationDbContext.cs" with the below code, as now we will be inheriting IdentityDbContext instead of DbContext.
using CRMApp.Models;
using Microsoft.AspNetCore.Identity.EntityFrameworkCore;
using Microsoft.EntityFrameworkCore;
namespace CRMApp.Data
{
public class ApplicationDbContext : IdentityDbContext
{
...
}
}
Now, Right Click on the project and click on "Add new Scaffolded Item". Click on "Identity" and then click "Add".
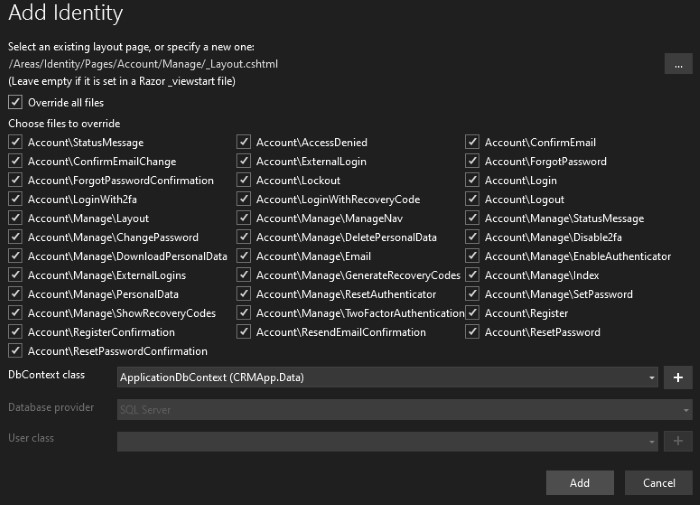
Here, I have selected all options, but you can select according to your need and project requirements. Choose DbContextClass as "ApplicationDbContext" and Click on "Add".
Now, you will have Identity added to your project using scaffolding. Now, you will see a folder named Areas which has a sub-folder named Identity which contains a sub-folder names Account which has endpoints for login register, logout, etc in the form of razor pages.
Step 9. Adding necessary code and updating the database
Open "_Layout.cs", and add the following code in the <nav> section before the </nav>
<partial name="_LoginPartial"/>
Now, you should be able to see Login and Register options in the right-side menu when running the project.
Add the following line in the Program.cs.
app.MapRazorPages();
Now, you will have to add migration to the database; go to "Tools", click on "NuGet Package Manager" and then on "Package Manager Console", the package manager console will open.
In the console, run the following commands.
add-migration "Identity tables migration"
Update-database
Here, a new migration file will be added to the Migration folder, and necessary tables are added to the database.
Step 10. Create a new account
Run the project and click on register to register users. A Register page will open like the one below.
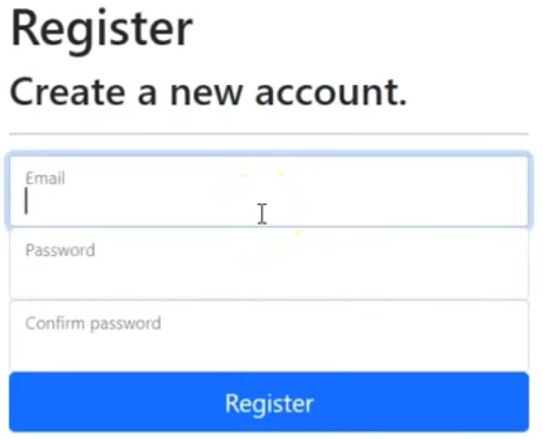
Here, you can register users by filling in the fields given.
But, if you click on Sales Lead, you will see you can still access the sales lead page without logging. So, to prevent this, follow the next step.
Step 11. Adding security
Go to "LeadsController.cs" and add attribute [Authorize] at the controller level.
namespace CRMApp.Controllers
{
[Authorize]
public class LeadsController : Controller
{
...
}
}
Now, if you will open the application and click on Sales Lead, you will see that you cannot access the page without logging in yourself. A page for login will open for you, as shown below.
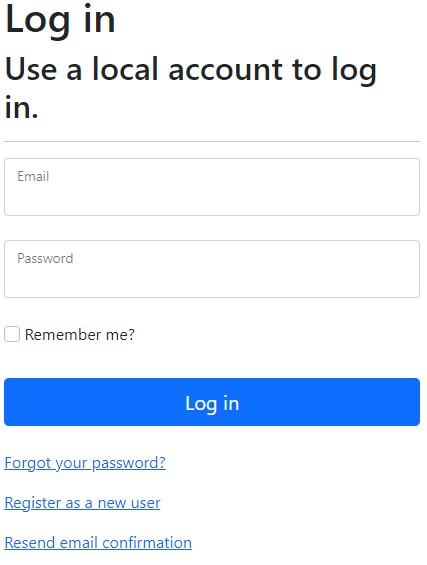
Once you log in yourself using the email and password. You will be able to access the Index page with Sales Lead Details. Also, you will have options to edit, get details and delete the records.
Here, you can see the details.

As you have seen, we have successfully added authentication to our ASP. NET 6 projects using the Identity Service.
Conclusion
ASP.NET Core Identity is a powerful tool for implementing user authentication and authorization in ASP.NET Core applications. By leveraging its features, developers can easily incorporate secure and scalable authentication mechanisms into their web applications, enhancing overall security and user trust. ASP.NET Core Identity simplifies the process of managing user accounts, passwords, and roles, allowing developers to focus on the core functionality of their applications. With its seamless integration with ASP.NET Core MVC, developers can create robust user management functionality and ensure that only authorized users can access specific resources or functionalities within the application.
By following the steps outlined in this article, developers can successfully set up ASP.NET Core Identity in their projects and enjoy the benefits of a secure and efficient authentication system.