
June 28, 2019 09:43 by
 Peter
PeterWe can develop MVC applications in Visual Studio 2010. Visual Studio 2010 includes MVC 2 by default. We can also install both MVC 3 and MVC 4 in Visual Studio 2010. In this article, I go through step-by-step how to install MVC 4 in Visual Studio 2010.
ASP.NET MVC 4 includes all features of MVC 3 and also includes the following:
- The ASP.NET Web API is a framework for building and consuming HTTP services that can reach a broad range of clients, including browsers, phones, and tablets. The ASP.NET Web API is great for building services that follow the REST architectural style, plus it supports RPC patterns.
- ASP.NET Web Pages and the new Razor syntax provide a fast, approachable, and lightweight way to combine server code with HTML to create dynamic web content.
- Web Optimization is a framework for bundling and minifying scripts and CSS files.
- NuGet, a free, open source developer focused package management system for the .NET platform is intended to simplify the process of incorporating third-party libraries into a .NET application during development.
Step 1: Download and Install Visual Studio 2010 Service Pack 1
Visual Studio 2010 SP1 is required to use MVC 4 in Visual Studio 2010 so we need to install it on our machine then install MVC 4. We can download it from the Microsoft Download Center and go through the following link.
http://www.microsoft.com/en-in/download/details.aspx?id=23691
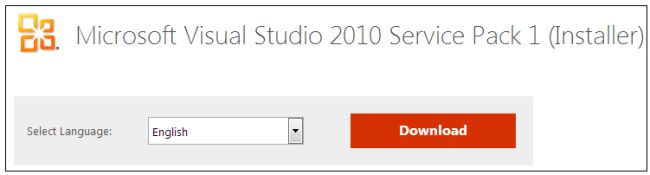
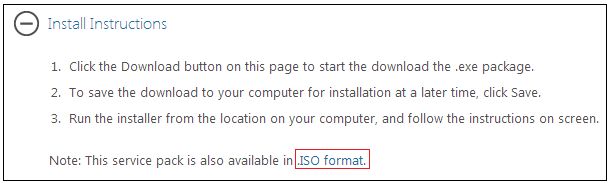
We download the "VS10sp1-KB983509.exe" file and click on it and follow the steps as given in the process. But it is a web platform install so we need an internet connection to install VS SP1. If we want to install VS SP1 without an internet connection then we need to download the ISO file of VS SP 1. We can download the ISO file for VS SP1 from the same link under Install Instructions. Its size is 1.48 GB (1,590,734,349 bytes).
After installation of VS 2010 SP 1 we wil proceed to install MVC 4.
Step 2: Download MVC 4
We can download MVC 4 from the Microsoft Download Center and go through the following link:
http://www.microsoft.com/en-us/download/details.aspx?id=30683
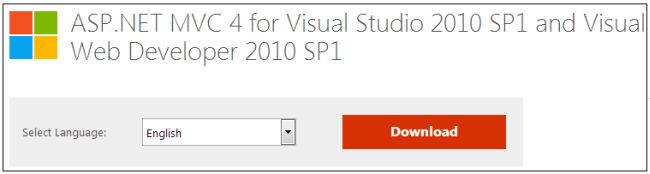
Click on the "Download" button and the download will start within 30 seconds.
Step 3: Run MVC 4
Now we have the MVC 4 set up file ("AspNetMVC4Setup.exe") to install MVC 4. Double-click on it and it runs.
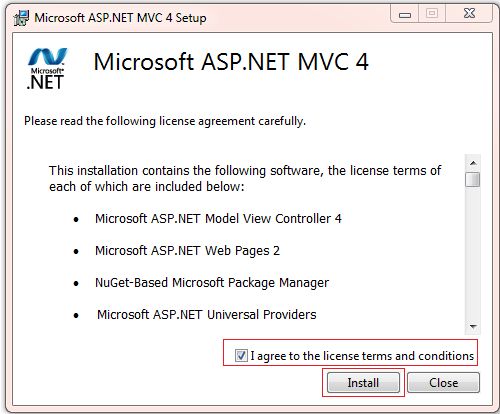
Accept the License Agreement and click on "Install".
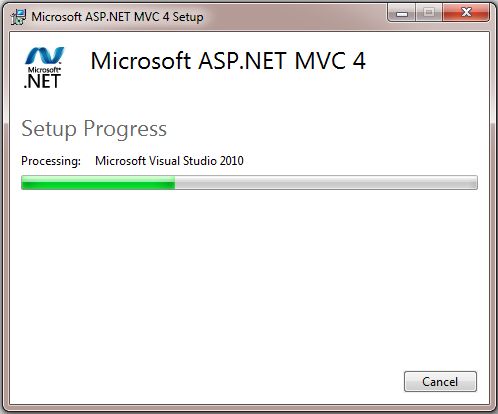
The screen above takes several minutes so don't click on cancel or close window. After a successful installation, we get a success message on the installation screen.

Step 4: Check whether the install was successful
Now we will create a new project from Visual Studio 2010.
Go to "File" -> "New" -> "Project...".
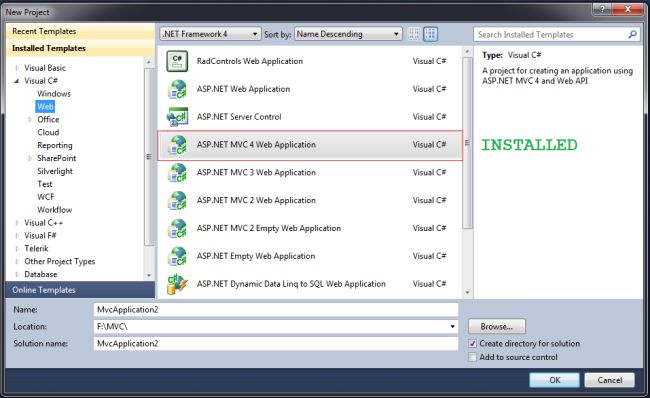
We are notified that the MVC 4 template is ready to be used in Visual Studio 2010 so MVC 4 is successfully installed and ready to use.
