In order to fill database tables with data, models must be created. However, what happens if you have to generate models dynamically rather than building your model with classes and properties? In this scenario, you will have to develop code that uses the table schema to create the models at runtime. In this post, we'll build a dynamic model generator that can produce models from your database table schema automatically using C#.NET 8 MVC.

How does dynamic model generation work?
Developers frequently spend a great deal of effort building models that match the structure of their database tables when using standard C#.NET MVC development. This procedure, which can be laborious, prone to errors, and not very scalable, particularly for applications with big databases, entails defining characteristics for each column in the table. The process of dynamically generating models at runtime based on database table schema is known as dynamic model generation. We can automate this process by querying the database for each table's structure and dynamically creating the associated C# classes, saving us the trouble of constructing model classes by hand for each table.
C#.NET 8 Project for creating dynamic models
You can skip the project creation section if you have previously created the project because I will be going over every step from beginning to end. Let's now create a project to see how this is accomplished.
Step 1: Needs
Since I'll be working with.NET 8, it needs to be installed (if you're using a different version, that depends on your needs).
Step 2. Setting up the Project
- In the Visual Studio, click 'Create a new project' and click 'Next.'
- In templates, select 'ASP.NET Core Web App (Model-View-Controller)' and click 'Next'.
- In the 'Configure your new project' window, name your project, here I have named it 'DynamicModelGenerator' and click 'Next'.
- In the Additional Information window, in Framework, choose '.NET 8' and click 'Create'.
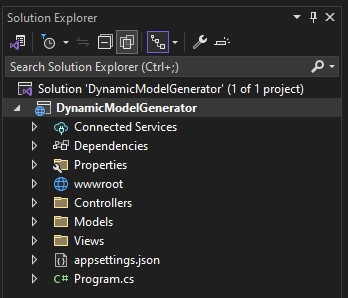
- Now, the project is created and the project structure looks like the below image.
Install packages in step three
Let's now install the project-related packages. We will utilize Entity for database operations in our project. Let's install it now.
- Choose 'Manage NuGet Packages' after clicking 'Project'.
- Type 'EntityFramework' into the 'Browse' search field.
- Click 'Install' after selecting it.
- There will be a pop-up window; click "I accept."
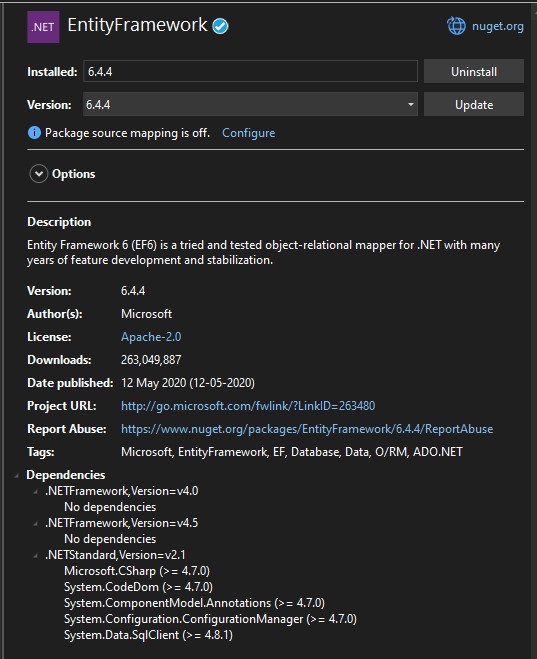
- Now that Entity Framework is installed, it seems as follows.
Configure the connection string in step four
Let's now update the appsettings.json file with a connection string. In accordance with your database, change the Server, Database, User ID, and Password.
"ConnectionStrings": {
"DefaultConnection": "Server=******;Database=******;user id=******;Password=******;MultipleActiveResultSets=true;Encrypt=False;"
},
Create Index View
In the HomeController, we have an Index method, by default, it has some boilerplate code written. Let's change it according to our requirements. Here, I am changing some basic code that is needed for our implementation.
In Index.cshtml
@{
ViewData["Title"] = "Home Page";
}
<div>
<h2>Dynamic Model Generator</h2>
<p>Generate dynamic models and use them in your application.</p>
<p>Click <a href="/get-database-tables">here</a> to get all the tables present in your database.</p>
</div>
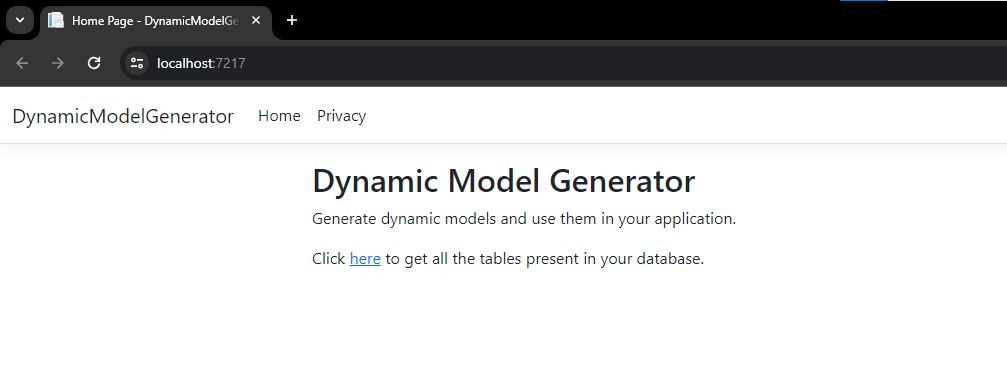
In the above, I have added a title to the page, a heading in the home page some info in <p> tag and <a> tag to provide a link on whose click, and a method having route 'get-database-tables' will be called. The view will look like below.
Make a Controller for ModelGenerator
It is best practice to divide your code into distinct controllers based on your needs. So, make a controller and give it a suitable name. 'ModelGeneratorController' is the name I gave it. This is how your controller will appear below.
using Microsoft.AspNetCore.Mvc;
using System.Data.SqlClient;
public class ModelGeneratorController : Controller
{
//empty controller
}
In this controller, let's add a constructor and a read-only property.
private readonly string _connectionString;
public ModelGeneratorController(IConfiguration configuration)
{
_connectionString = configuration.GetConnectionString("DefaultConnection");
}
In the above, I added a private read-only string named _connectionString to store the database connection string. Then, I created a constructor and in that, I assigned the connection string stored in our appsettings.json file to the _connectionString property.
Create a method to get all database tables
Now, let's create a method to get all the tables present in our database.
[HttpGet]
[Route("get-database-tables")]
public IActionResult GetDatabaseTables()
{
var tableNames = new List<string>();
using (var connection = new SqlConnection(_connectionString))
{
connection.Open();
var command = connection.CreateCommand();
command.CommandText = "SELECT TABLE_NAME FROM INFORMATION_SCHEMA.TABLES WHERE TABLE_TYPE = 'BASE TABLE'";
var reader = command.ExecuteReader();
while (reader.Read())
{
tableNames.Add(reader.GetString(0));
}
reader.Close();
}
return View(tableNames);
}
In the above code I created a method named GetDatabaseTables(). made it HTTP GET to handle the GET request, method and gave it the route 'get-database-tables', which we used in index.cshtml page.
In this method, I created a variable tableNames, a list of string values, which will be used to store the list of tables present in the database. In the next line, I created a connection with SQL Server and then opened the connection. In the next line, I created a SQL command (SqlCommand) to execute a SQL query against the database. The query selects table names from the INFORMATION_SCHEMA.TABLES view where the TABLE_TYPE is 'BASE TABLE'.
This ensures that only base tables (not views or system tables) are included in the result. In the next line, I executed the command using ExecuteReader() and iterated over the results using a while loop. For each row in the result set, it reads the value of the first column (table name) using the reader.GetString(0) and add it to the tableNames list. After reading all the data, we closed the data reader and the database connection to release resources. At last, I passed the table names to the View().
Create a view to show the tables present in the database
To create a view, right-click on GetDatabaseTables() method, click, 'Add View', and name the view, I named it 'GetDatabaseTables.cshtml'. Your view file is created
In GetDatabaseTables.cshtml
@model List<string>
@{
ViewData["Title"] = "Database Tables";
}
<!DOCTYPE html>
<html>
<head>
<title>@ViewData["Title"]</title>
<style>
table {
width: 40%;
border-collapse: collapse;
}
th, td {
padding: 8px;
border: 1px solid #ddd;
text-align: left;
}
th {
background-color: #f2f2f2;
}
tr:nth-child(even) {
background-color: #f2f2f2;
}
tr:hover {
background-color: #ddd;
}
a {
text-decoration: none;
color: blue;
}
a:hover {
text-decoration: underline;
}
</style>
</head>
<body>
<div>
<h1>Database Tables</h1>
<table>
<thead>
<tr>
<th>Table Name</th>
<th>Action</th>
</tr>
</thead>
<tbody>
@foreach (var tableName in Model)
{
<tr>
<td>@tableName</td>
<td><a href="@Url.Action("CreateDynamicModel", "ModelGenerator", new { tableName = tableName })">Create Dynamic Model</a></td>
</tr>
}
</tbody>
</table>
</div>
</body>
</html>
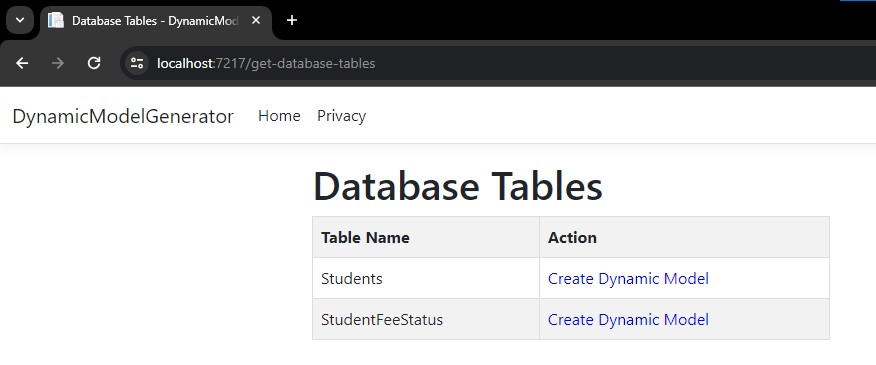
In the above code, I added a directive that specifies the type of model that this view expects. In our case, it expects a List<string>, which means it will receive a list of strings from the controller. Then, added a title to the page. In the body, I created a <div>, and inside that <div>, added a for each loop to iterate over the list of table names and display them in a tabular format with some CSS styling. This will look like below.
Create a method to create a dynamic model
[HttpGet]
[Route("create-dynamic-model")]
public string CreateDynamicModel(string tableName)
{
StringBuilder classDefinition = new();
classDefinition.AppendLine($"public class {tableName}Model");
classDefinition.AppendLine("{");
List<string> propertyDeclarations = GetPropertyDeclarationsForTable(tableName);
foreach (var propertyDeclaration in propertyDeclarations)
{
classDefinition.AppendLine($" {propertyDeclaration}");
}
classDefinition.AppendLine("}");
return classDefinition.ToString();
}
In the above method, I created a StringBuilder object and then started constructing a model class by getting property declarations for the table. and inside a for each loop, generated all property declarations. Once the class construction is completed, I returned the constructed class to the view.
Step 10. Create GetPropertyDeclarationsForTable() method
In the above method, we used GetPropertyDeclarationsForTable(), now let's create the method.
private List<string> GetPropertyDeclarationsForTable(string tableName)
{
List<string> propertyDeclarations = [];
using (var oldConnection = new SqlConnection(_connectionString))
{
oldConnection.Open();
string sql = $"SELECT * FROM INFORMATION_SCHEMA.COLUMNS WHERE TABLE_NAME = '{tableName}'";
using var cmd = new SqlCommand(sql, oldConnection);
using SqlDataReader reader = cmd.ExecuteReader();
while (reader.Read())
{
string columnName = reader["COLUMN_NAME"].ToString();
string dataType = reader["DATA_TYPE"].ToString();
bool isNullable = reader["IS_NULLABLE"].ToString() == "YES";
string propertyDeclaration = $"public {GetCSharpType(dataType, isNullable)} {columnName} {{ get; set; }}";
propertyDeclarations.Add(propertyDeclaration);
}
oldConnection.Close();
}
return propertyDeclarations;
}
In the above method, I created a list of strings. In the next line, I established the connection and got the data using an SQL connection. In next line, in a while loop, i got the information about the columns and constructed property declaration, using that information. Next, added that declaration to the string list. After closing the connection, I returned the property declarations.
Step 11. Create GetCSharpType() method
In the above method, we used the GetCSharpType() method, so let's create it.
private static string GetCSharpType(string dataType, bool isNullable)
{
switch (dataType)
{
case "bigint":
return isNullable ? "long?" : "long";
case "int":
return isNullable ? "int?" : "int";
case "nvarchar":
case "varchar":
return "string";
default:
return "object";
}
}
In this method, I added a switch case in which according to database data type, I returned the appropriate C# data type corresponding to them.
Create a view of the CreateDynamicModel page
To create a view, right-click on CreateDynamicModel () method, click, 'Add View', and name the view, I named it 'CreateDynamicModel .cshtml'. Your view file is created
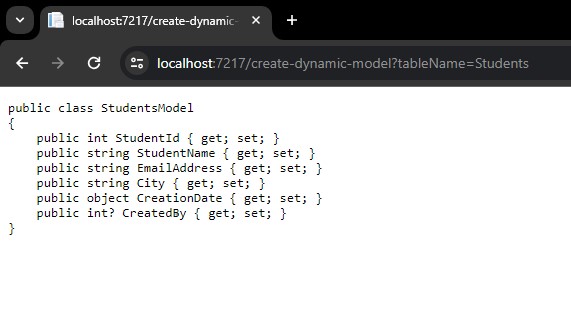
In CreateDynamicModel.cshtml
@model string
<!DOCTYPE html>
<html>
<head>
<title>Dynamic Model Class</title>
</head>
<body>
<h2>Dynamic Model Class</h2>
<pre>
@Html.Raw(Model)
</pre>
</body>
</html>
In the above method, the string coming from the method is shown in the view inside <pre> tag. This will look like below.
Here, we've used C# MVC to successfully develop a dynamic model.