Creating a CRUD (Create, Read, Update, Delete) application is a core skill for any .NET developer. In this guide, we'll show you how to build a CRUD app using ASP.NET Core MVC (.NET 8), Dapper ORM, and the Repository Pattern. This approach is fast, easy to maintain, and great for building real-world applications.

Building an ASP.NET MVC project using Dapper Micro ORM and .NET 8.0 involves 10 key steps. Here's a simple breakdown to help you set up the project effectively.
- Create a New ASP.NET Core MVC Project
- Install Dapper and Microsoft.Data.SqlClient Packages
- Set Up SQL Server Database and Table
- Configure Database Connection
- Create the model
- Create a DBContext Folder inside the folder create the DapperContext.cs file
- Create a Repository Folder inside the folder create IStudentRepo.cs and StudentRepo.cs file
- Configure Dependency Injection
- Create Controller
- Create Views
Continue following the steps mentioned above.
Step 1. Create a New ASP.NET Core MVC Project.
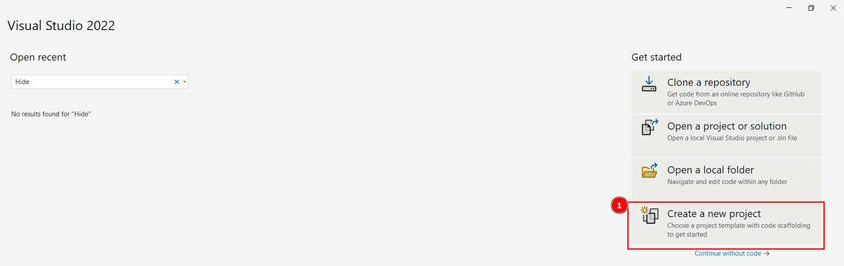
Choose the MVC project template.
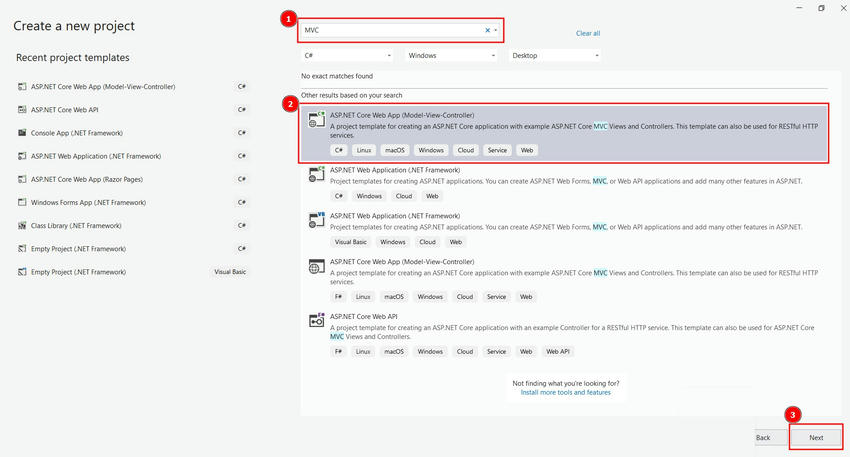
Configure your new project by giving it a meaningful name and selecting the folder where it should be created.

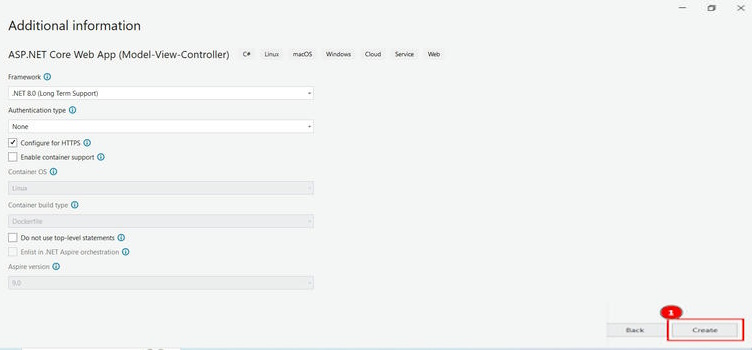
No changes are needed in the Additional Information section.
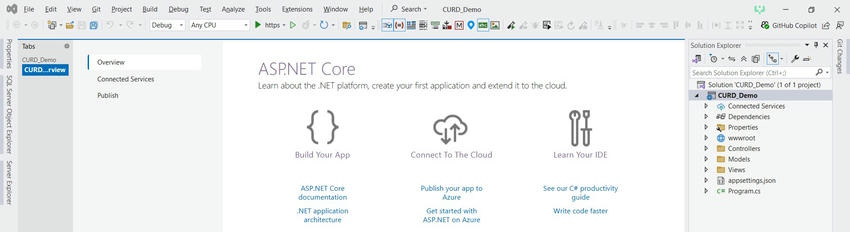
The project window appears as shown in the image below.
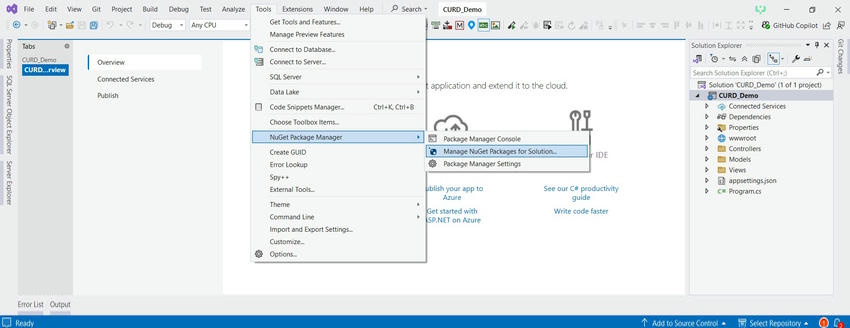
Step 2. Install Dapper and Microsoft.Data.SqlClient Packages. Navigate to Tools > NuGet Package Manager > Manage NuGet Packages for Solution.
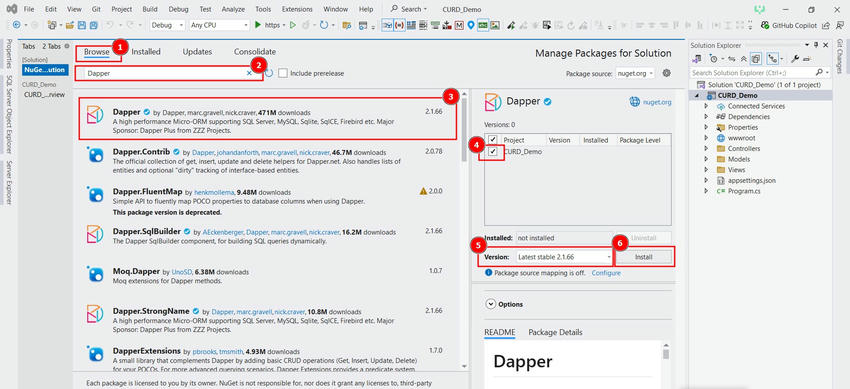
Go to the Browse tab, search for Dapper, and select the first package that appears. Check the box next to your project name, ensure the latest version is selected (update it if not), and then click Install.
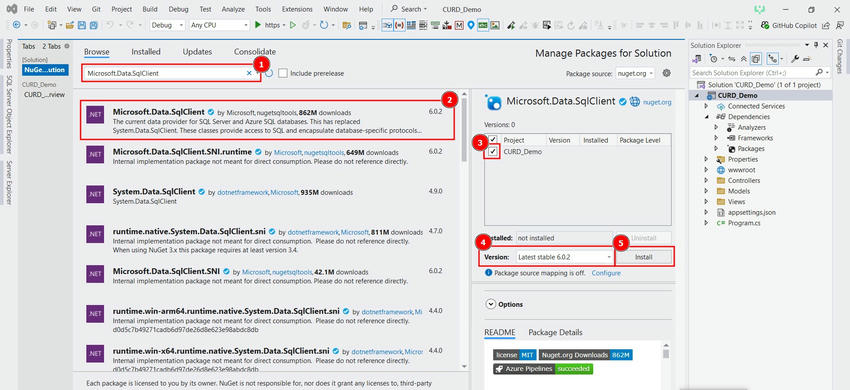
Go to the Browse tab, and search for Microsoft.Data.SqlClient, and select the first package that appears. Tick the checkbox next to your project name, make sure the latest version is selected (update if necessary), and then click Install.
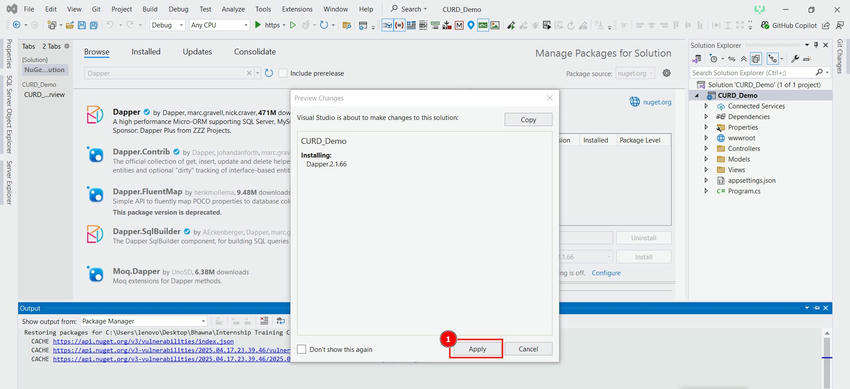
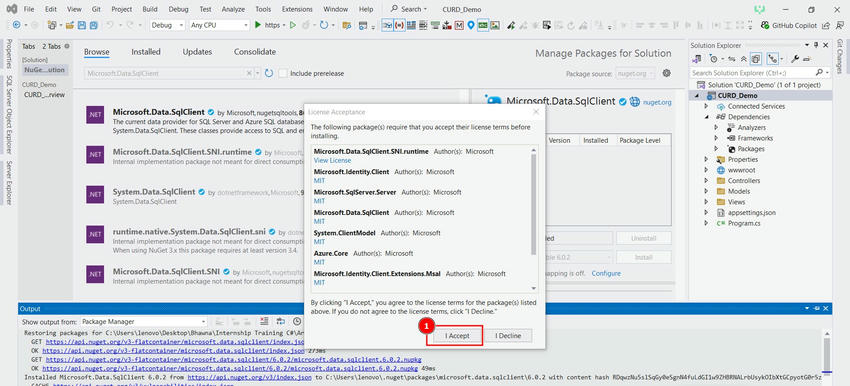
Click Accept to agree to the license terms and proceed with the installation.
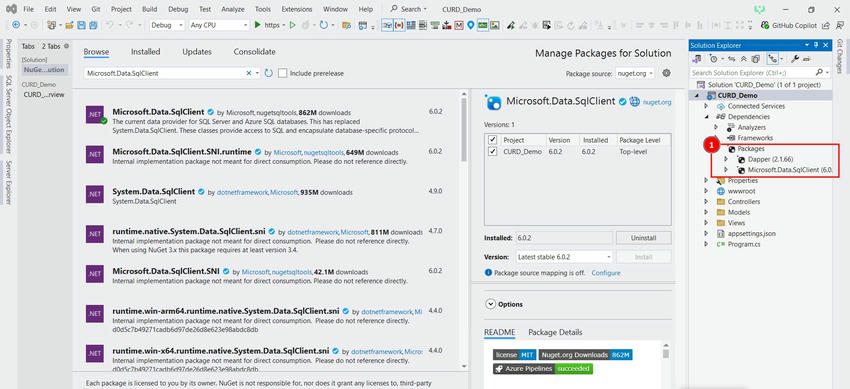
Open Solution Explorer, navigate to Dependencies > Packages and verify that both installed packages are listed. This confirms they were successfully added to your project.
Step 3. Set Up SQL Server Database and Table
Open SQL Server Management Studio (SSMS), then launch a New Query window. Use the following query to create a new database and table.
--Create a database StudentDB.
CREATE DATABASE StudentDB;
Use StudentDB;
--Create a table Students with fields: ID, Name, Age, Email.
CREATE TABLE Student(
ID int primary key identity(1,1),
Name varchar(50),
Age int,
Email varchar(50)
);
Step 4. Configure Database Connection
Add the connection string to the appsettings.json file, ensuring that the entries are separated by commas (,).
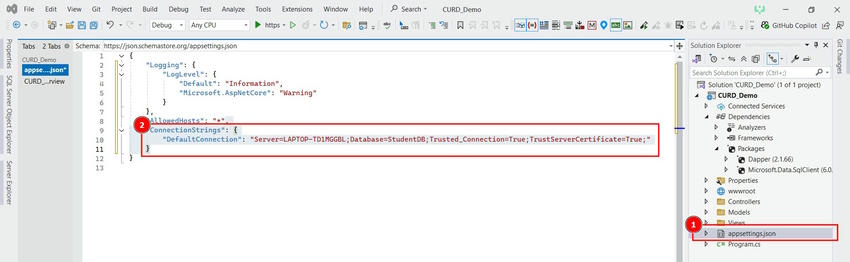
"ConnectionStrings": {
"DefaultConnection": "Server=LAPTOP-TD1MGGBL;Database=StudentDB;Trusted_Connection=True;TrustServerCertificate=True;"
}
Step 5. Create the model
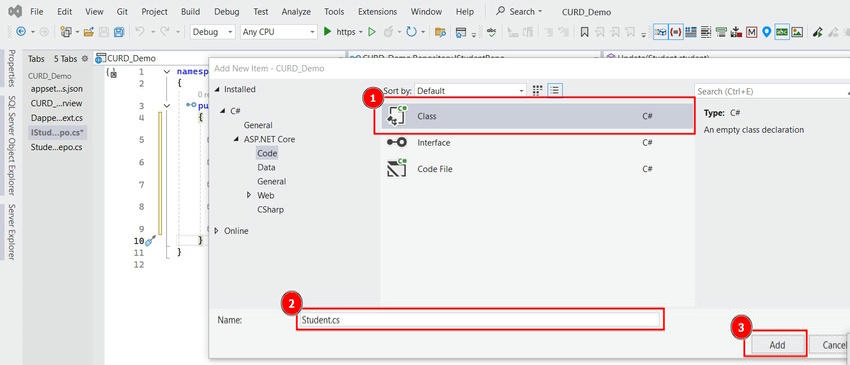
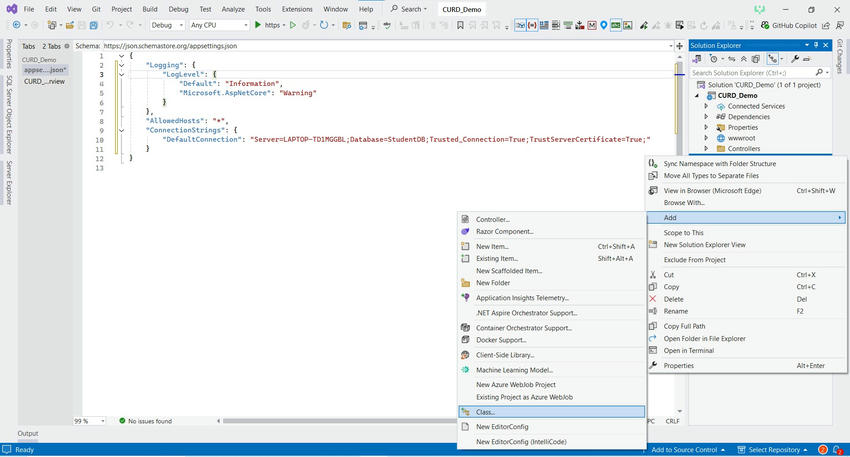
Right-click on the Models folder, select Add > Class and name it Student.cs. After creating the class, add the following code.
File: Student.cs
namespace CURD_Demo.Models
{
public class Student
{
public int Id { get; set; }
public required string Name { get; set; }
public int Age { get; set; }
public required string Email { get; set; }
}
}
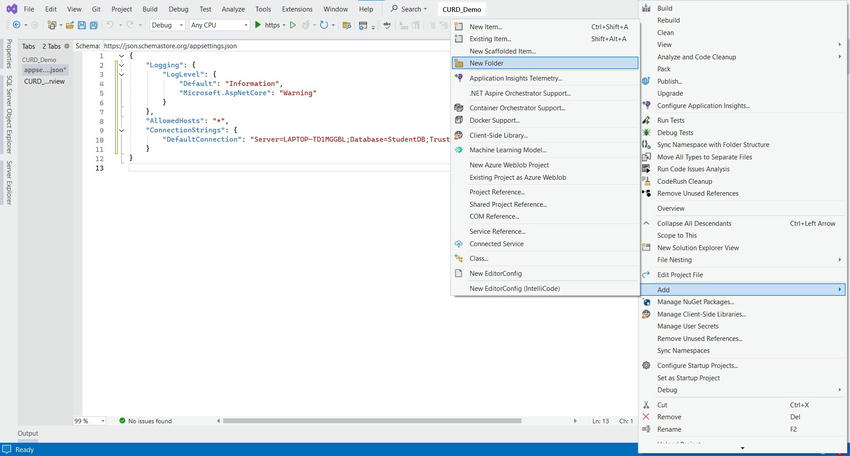
Step 6. Create a DBContext Folder inside the folder ADD DapperContext.cs file.
Right-click on the project name in Solution Explorer, then go to Add > New Folder and name it DBContext. Inside the DBContext folder, add a class named DapperContext.cs and include the following code inside the file.
File: DappContext.cs
using Microsoft.Data.SqlClient;
using System.Data;
namespace CURD_Demo.DBContext
{
public class DapperContext
{
private readonly IConfiguration _configuration;
private readonly string? _connectionString;
public DapperContext(IConfiguration configuration)
{
_configuration = configuration;
_connectionString = _configuration.GetConnectionString("DefaultConnection");
}
public IDbConnection CreateConnection() => new SqlConnection(_connectionString);
}
}
Step 7. Create a Repository Folder inside the folder then create IStudentRepo.cs and StudentRepo.cs files.
Right-click on the project name in Solution Explorer, then go to Add > New Folder and name it Repository. Inside the Repository folder, add an interface named IStudentRepo.cs and a class named StudentRepo.cs. After creating these files, add the following code inside each file.

File: IStudentRepo.cs
using CURD_Demo.Models;
namespace CURD_Demo.Repository
{
public interface IStudentRepo
{
IEnumerable<Student> GetAll();
Student? GetById(int id);
void Add(Student student);
void Update(Student student);
void Delete(int id);
}
}
File: StudentRepo.cs
using CURD_Demo.Models;
using CURD_Demo.DBContext;
using Dapper;
namespace CURD_Demo.Repository
{
public class StudentRepo : IStudentRepo
{
private readonly DapperContext _context;
public StudentRepo(DapperContext context)
{
_context = context;
}
public IEnumerable<Student> GetAll()
{
using (var connection = _context.CreateConnection())
{
var sql = "SELECT * FROM Student";
return connection.Query<Student>(sql);
}
}
public Student? GetById(int id)
{
using (var connection = _context.CreateConnection())
{
var sql = "SELECT * FROM Student WHERE Id = @Id";
return connection.QuerySingleOrDefault<Student>(sql, new { Id = id });
}
}
public void Add(Student student)
{
using (var connection = _context.CreateConnection())
{
var sql = "INSERT INTO Student (Name, Age, Email) VALUES (@Name, @Age, @Email)";
connection.Execute(sql, student);
}
}
public void Update(Student student)
{
using (var connection = _context.CreateConnection())
{
var sql = "UPDATE Student SET Name = @Name, Age = @Age, Email = @Email WHERE Id = @Id";
connection.Execute(sql, student);
}
}
public void Delete(int id)
{
using (var connection = _context.CreateConnection())
{
var sql = "DELETE FROM Student WHERE Id = @Id";
connection.Execute(sql, new { Id = id });
}
}
}
}
Step 8. Configure Dependency Injection
Open the Program.cs file and add the necessary dependencies for Dapper and the repositories using the following code.
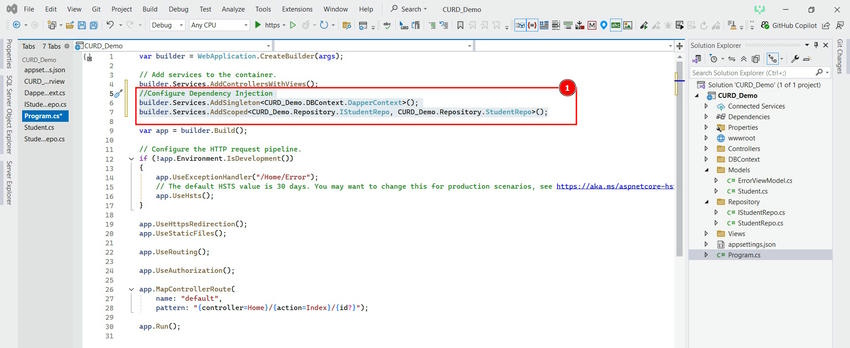
File: Program.cs
//Configure Dependency Injection
builder.Services.AddSingleton<CURD_Demo.DBContext.DapperContext>();
builder.Services.AddScoped<CURD_Demo.Repository.IStudentRepo, CURD_Demo.Repository.StudentRepo>();
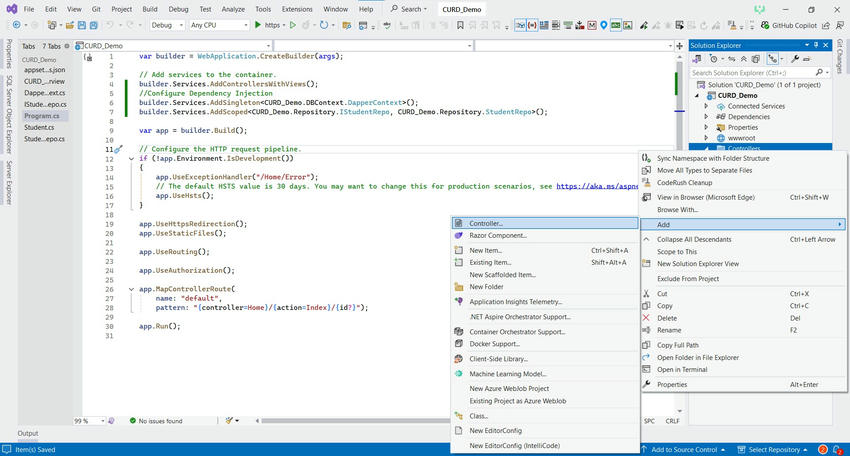
Step 9. Create Controller
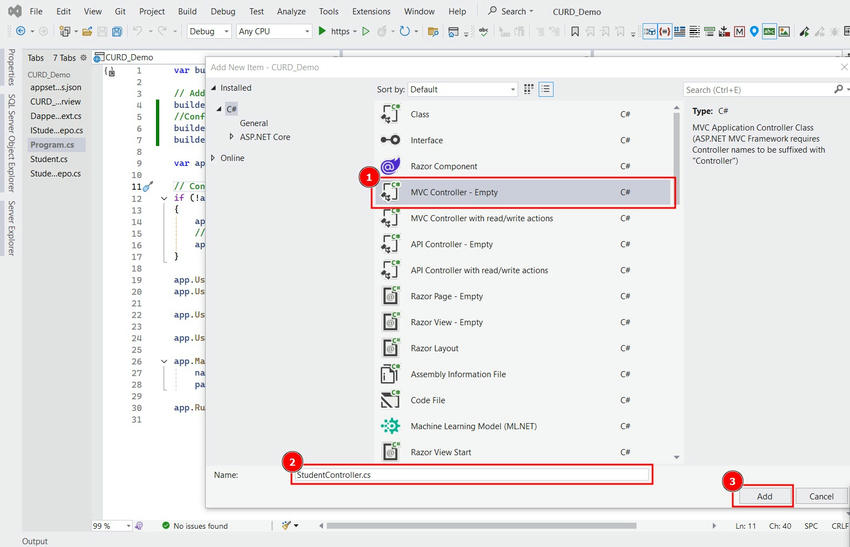
Right-click on the Controllers folder, select Add > Controller, then choose MVC Controller - Empty and click Add. In the pop-up window, enter StudentController as the controller name and click Add. This will create StudentController inside the Controllers folder. Then, add the following code to the StudentController.cs file.

File: StudentController.cs
using CURD_Demo.Models;
using Microsoft.AspNetCore.Mvc;
using CURD_Demo.Repository;
namespace CURD_Demo.Controllers
{
public class StudentController : Controller
{
private readonly IStudentRepo _studentRepo;
public StudentController(IStudentRepo studentRepo)
{
_studentRepo = studentRepo;
}
public IActionResult Student()
{
var students = _studentRepo.GetAll();
return View(students);
}
public IActionResult Details(int id)
{
var student = _studentRepo.GetById(id);
if (student == null)
{
return NotFound();
}
return View(student);
}
public IActionResult Create()
{
return View();
}
[HttpPost]
[ValidateAntiForgeryToken]
public IActionResult Create(Student student)
{
if (ModelState.IsValid)
{
_studentRepo.Add(student);
return RedirectToAction(nameof(Student));
}
return View(student);
}
public IActionResult Edit(int id)
{
var student = _studentRepo.GetById(id);
if (student == null)
{
return NotFound();
}
return View(student);
}
[HttpPost]
[ValidateAntiForgeryToken]
public IActionResult Edit(Student student)
{
if (ModelState.IsValid)
{
_studentRepo.Update(student);
return RedirectToAction(nameof(Student));
}
return View(student);
}
public IActionResult Delete(int id)
{
var student = _studentRepo.GetById(id);
if (student == null)
{
return NotFound();
}
return View(student);
}
[HttpPost]
[ValidateAntiForgeryToken]
public IActionResult DeleteConfirmed(int id)
{
_studentRepo.Delete(id);
return RedirectToAction(nameof(Student));
}
}
}
Step 10. Create Views
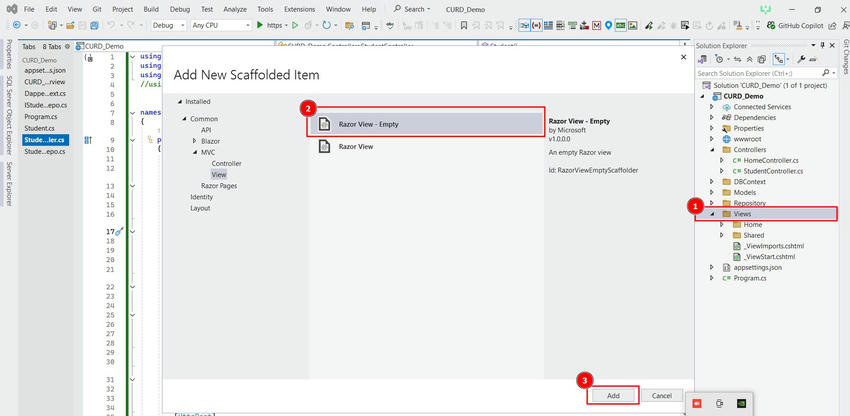
Right-click on the Views folder, navigate to Add > New Item, select Razor View - Empty, and click Add. In the pop-up window, enter Student.cshtml as the name and click Add. This will create a Student.cshtml file inside the View/Student folder. Then, add the following code inside the Student.cshtml file.
File: Student.cshtml
@model IEnumerable<CURD_Demo.Models.Student>
@{
ViewData["Title"] = "Students";
}
<h2>Student List</h2>
<div>
<a asp-action="Create" class="btn btn-primary">Add New Student</a>
</div>
<table class="table table-bordered">
<thead>
<tr>
<th>
@Html.DisplayNameFor(model => model.Name)
</th>
<th>
@Html.DisplayNameFor(model => model.Email)
</th>
<th>
@Html.DisplayNameFor(model => model.Age)
</th>
<th>
Actions
</th>
</tr>
</thead>
<tbody>
@foreach (var student in Model)
{
<tr>
<td>
@{
@student.Name
}
</td>
<td>
@{
@student.Email
}
</td>
<td>
@{
@student.Age
}
</td>
<td>
<a asp-action="Edit" asp-route-id="@student.Id">Edit</a> |
<a asp-action="Delete" asp-route-id="@student.Id">Delete</a>
</td>
</tr>
}
</tbody>
</table>
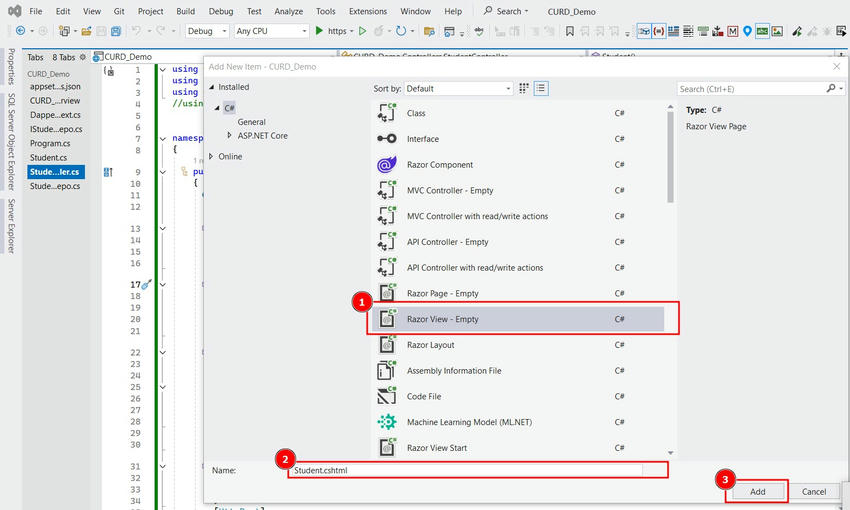
Right-click on the Student folder, navigate to Add > New Item, select Razor View - Empty, and click Add. In the pop-up window, enter Create.cshtml as the name and click Add. This will create a Create.cshtml file inside the Student folder. Then, add the following code inside the Create.cshtml file.
File: Create.cshtml
@model CURD_Demo.Models.Student
@{
ViewData["Title"] = "Create Student";
}
<h2>Add Student</h2>
<form asp-action="Create" method="post">
<div class="form-group">
<label for="Name" class="form-label"></label>
<input name="Name" placeholder="Enter Your Name" class="form-control" />
<span class="text-danger"></span>
</div>
<div class="form-group">
<label for="Email" class="control-label"></label>
<input name="Email" placeholder="Enter Your Email" class="form-control" />
<span class="text-danger"></span>
</div>
<div class="form-group">
<label for="Age" class="control-label"></label>
<input name="Age" placeholder="Enter Your Age" class="form-control" />
<span class="text-danger"></span>
</div>
<button type="submit" class="btn btn-primary">Create</button>
<a asp-action="Student">Back</a>
</form>
Right-click on the Student folder, navigate to Add > New Item, select Razor View - Empty, and click Add. In the pop-up window, enter Edit.cshtml as the name and click Add. This will create a Edit.cshtml file inside the Student folder. Then, add the following code inside the Edit.cshtml file.
File: Edit.cshtml
@model CURD_Demo.Models.Student
@{
ViewData["Title"] = "Edit";
}
<h2>EditStudent</h2>
<form asp-action="Edit" metod="post">
<input type="hidden" asp-for="Id" />
<div class="form-group">
<label asp-for="Name" class="form-label"></label>
<input asp-for="Name" placeholder="Enter Your Name" class="form-control" />
<span asp-validation-for="Name" class="text-danger"></span>
</div>
<div class="form-group">
<label asp-for="Email" class="form-label"></label>
<input asp-for="Email" placeholder="Enter Your Email" class="form-control" />
<span asp-validation-for="Email" class="text-danger"></span>
</div>
<div class="form-group">
<label asp-for="Age" class="form-label"></label>
<input asp-for="Age" placeholder="Enter Your Age" class="form-control" />
<span asp-validation-for="Age" class="text-danger"></span>
</div>
<button type="submit" class="btn btn-primary">Update</button>
</form>
Right-click on the Student folder, navigate to Add > New Item, select Razor View - Empty, and click Add. In the pop-up window, enter Delete.cshtml as the name and click Add. This will create a Delete.cshtml file inside the Student folder. Then, add the following code inside the Delete.cshtml file.
File: Delete.cshtml
@model CURD_Demo.Models.Student
@{
ViewData["Title"] = "Delete";
}
<h2>Delete Student</h2>
<div>
<h4>Are you sure you want to delete this Student?</h4>
<div>
<p>Name: @Model.Name</p>
<p>Email: @Model.Email</p>
<p>Age: @Model.Age</p>
</div>
</div>
<form method="post" asp-action="DeleteConfirmed">
<input type="hidden" asp-for="Id" />
<div class="form-group">
<button type="submit" class="btn btn-danger">Delete</button>
<a asp-action="Index" class="btn btn-secondary">Cancel</a>
</div>
</form>
Conclusion
In this article, we walked through the process of building a complete CRUD application using ASP.NET Core MVC (.NET 8), Dapper ORM, and the Repository Pattern. By combining the simplicity and performance of Dapper with a clean architecture approach, you’ve created a project that is both efficient and easy to maintain. This setup is ideal for small to medium-sized applications where performance matters and development speed is important. Whether you're a beginner exploring .NET or a developer looking to use lightweight tools over heavy ORMs, this project serves as a solid foundation for real-world applications.
Thank you for taking the time to read this article! I hope it helped you understand how to build a CRUD application using ASP.NET Core MVC, Dapper ORM, and the Repository Pattern. If you found this guide helpful, feel free to share it with others or leave your feedback.
Happy coding!